Room Reservations Help
- Find your room. Use room type dropdown menu at top center to limit your view to the type of rooms you need. Note: You won't see all the room types in the library, only the room types that you have permission to reserve.
- Standard Group Study Rooms:
201-208, 217-220 - Tech Rooms:
252-258 - Nursing Mothers Room:
221
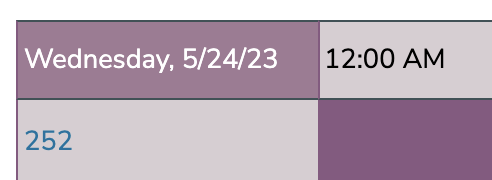
Reservable rooms display along the left of the schedule table. Hover over a room number to see a description of the room.
- Find your date
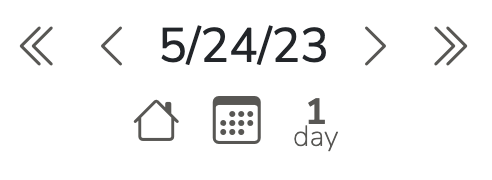
The default view shows the current date. Use the single arrows surrounding the date to move forward or backward one day at a time, or the double arrows to move by week. To view more:
The home icon brings you back to the current date. Click the calendar icon to select a specific date in advance. Clicking the "1 day" icon allows you to specify the number of days to view.
- Find your start time.
Click the box that matches your start time with your room.
- Define your reservation.
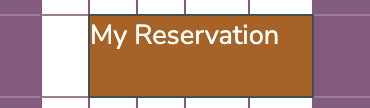
Fill in these fields: - Reservation Title (include name of reservation )
- Begin Time & End Time (reservations can be made in 15 minute increments)
- # of participants (type in a number)
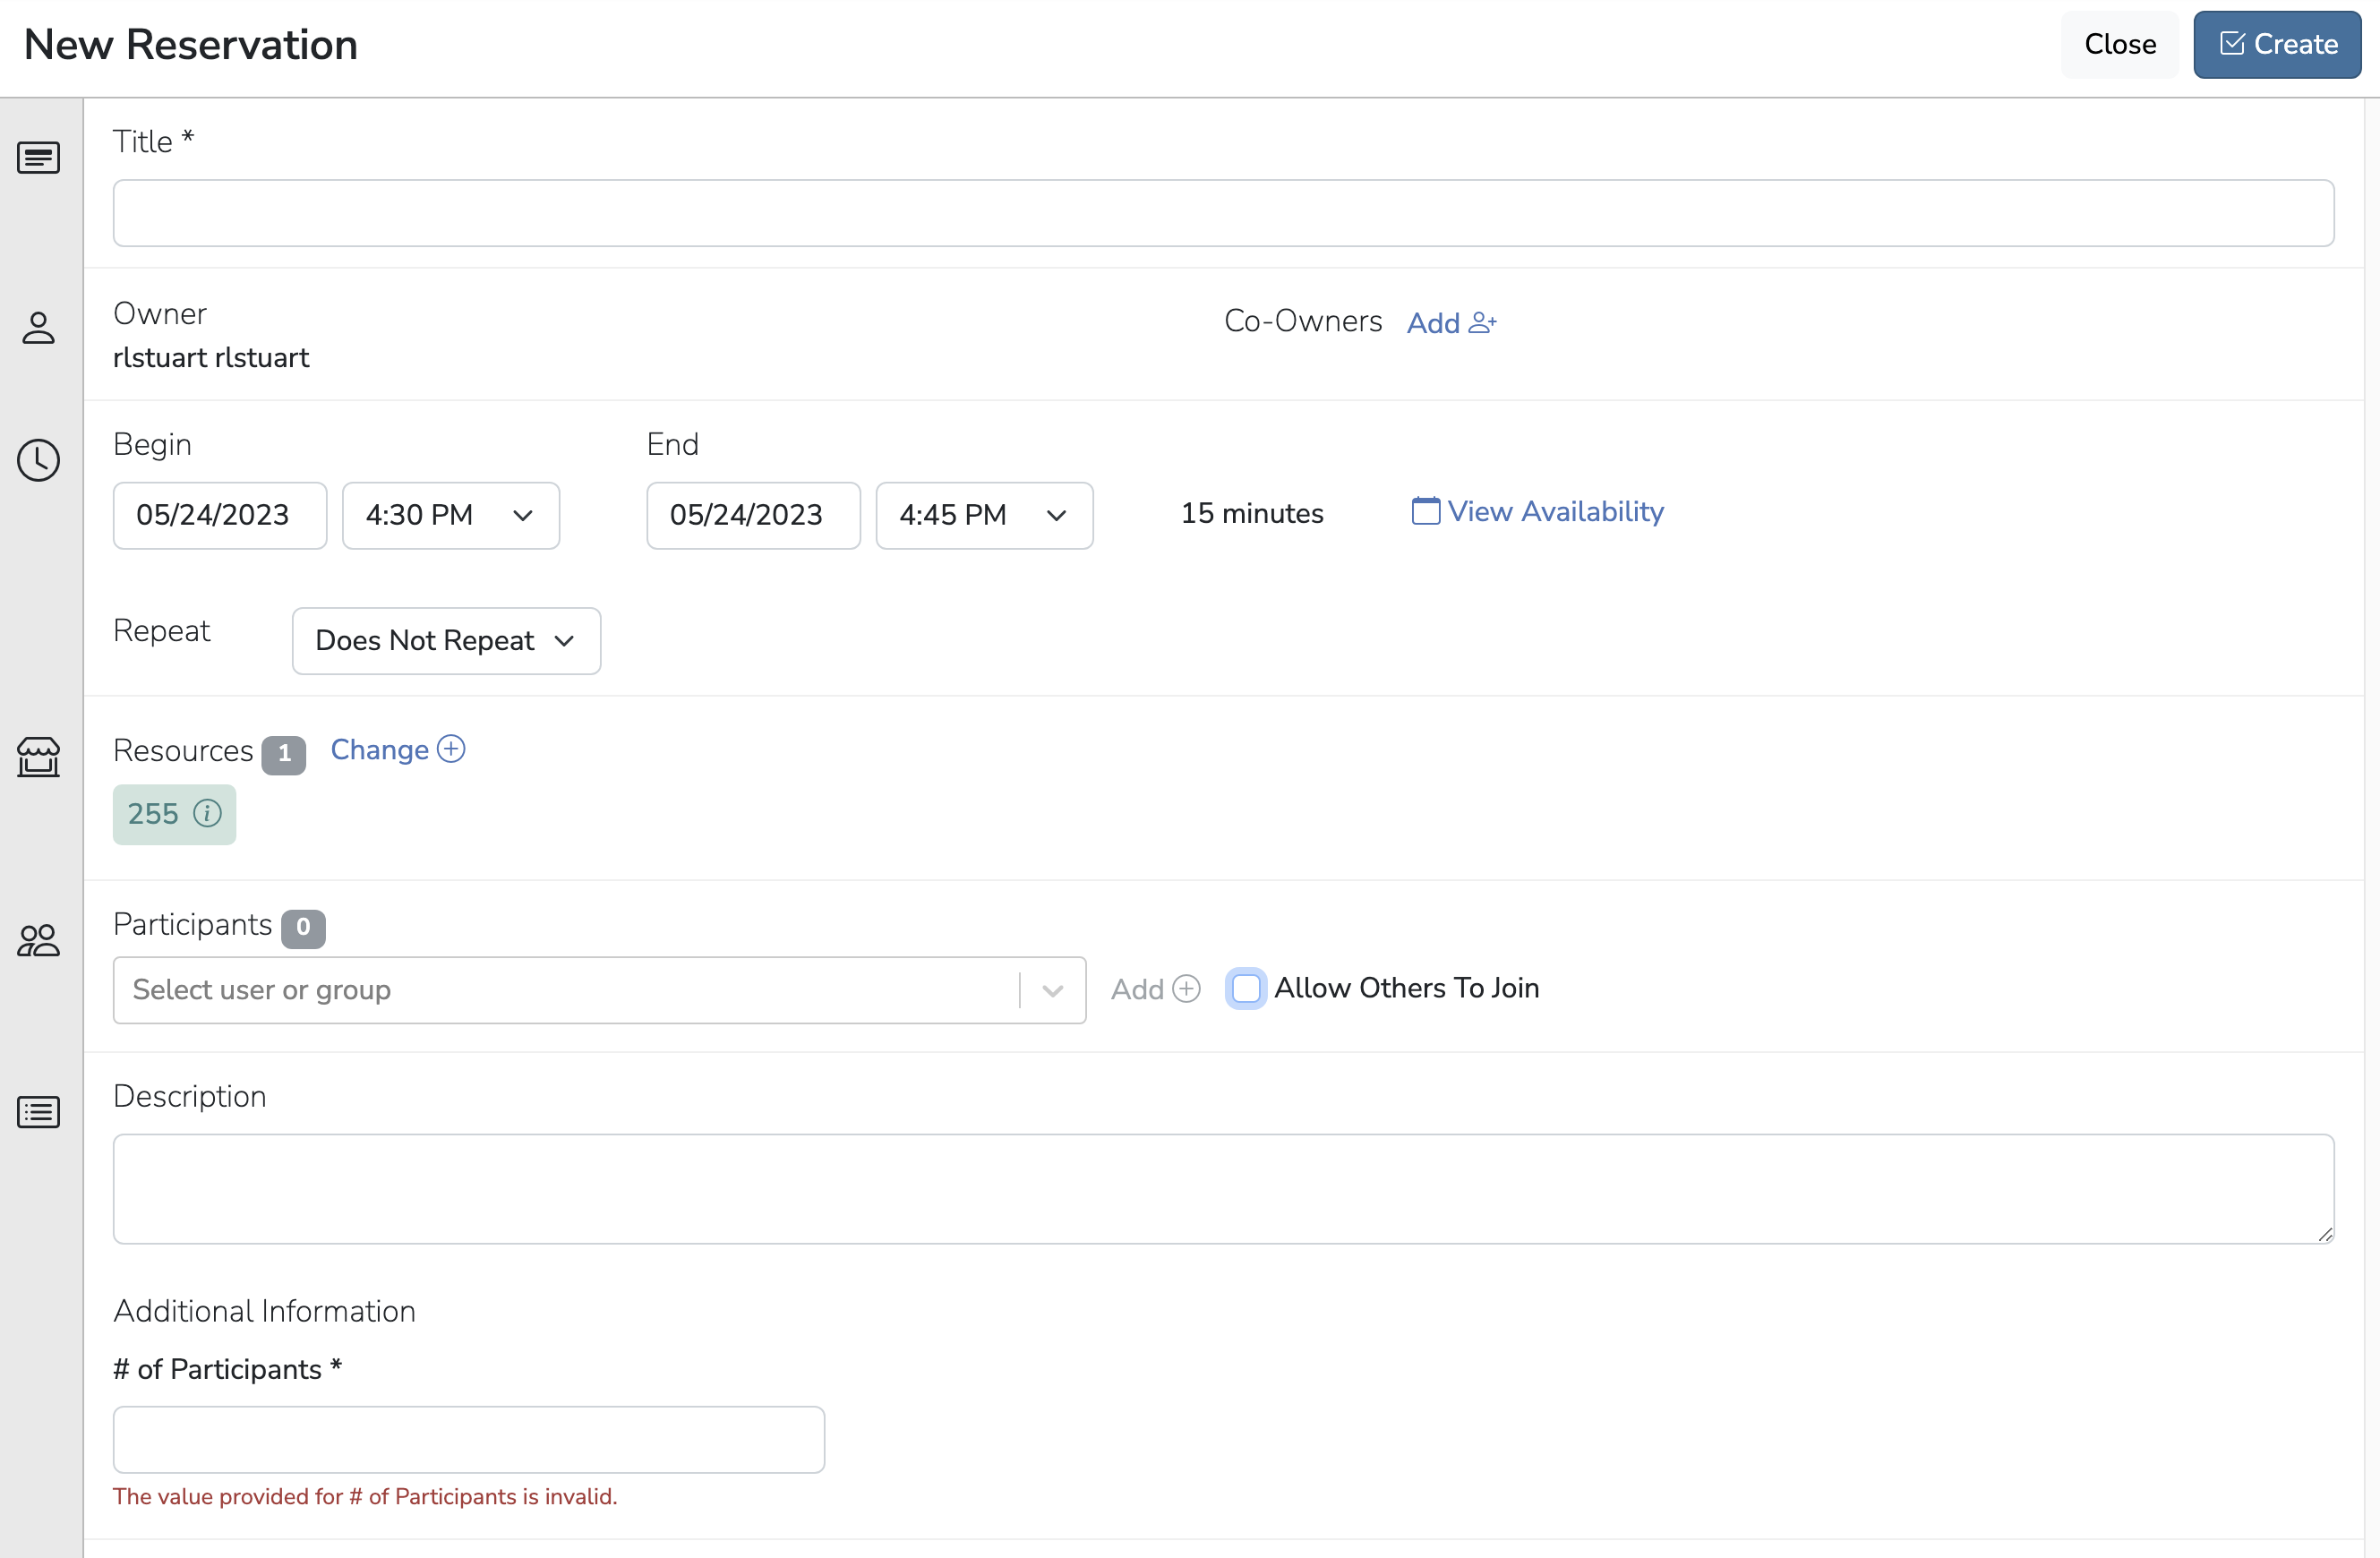
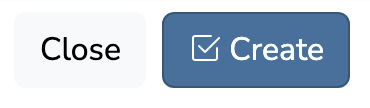
- Click the "Create" button
If you have Notifications turned on, you'll get an email with your reservation details.
- From Schedule | Bookings, find your reservation.
- Double-click your reservation to bring up the Change Reservation screen.
- This screen will automatically fill with your current reservation details. You can change all of them: change the room, the time, and add participants (more below on that).
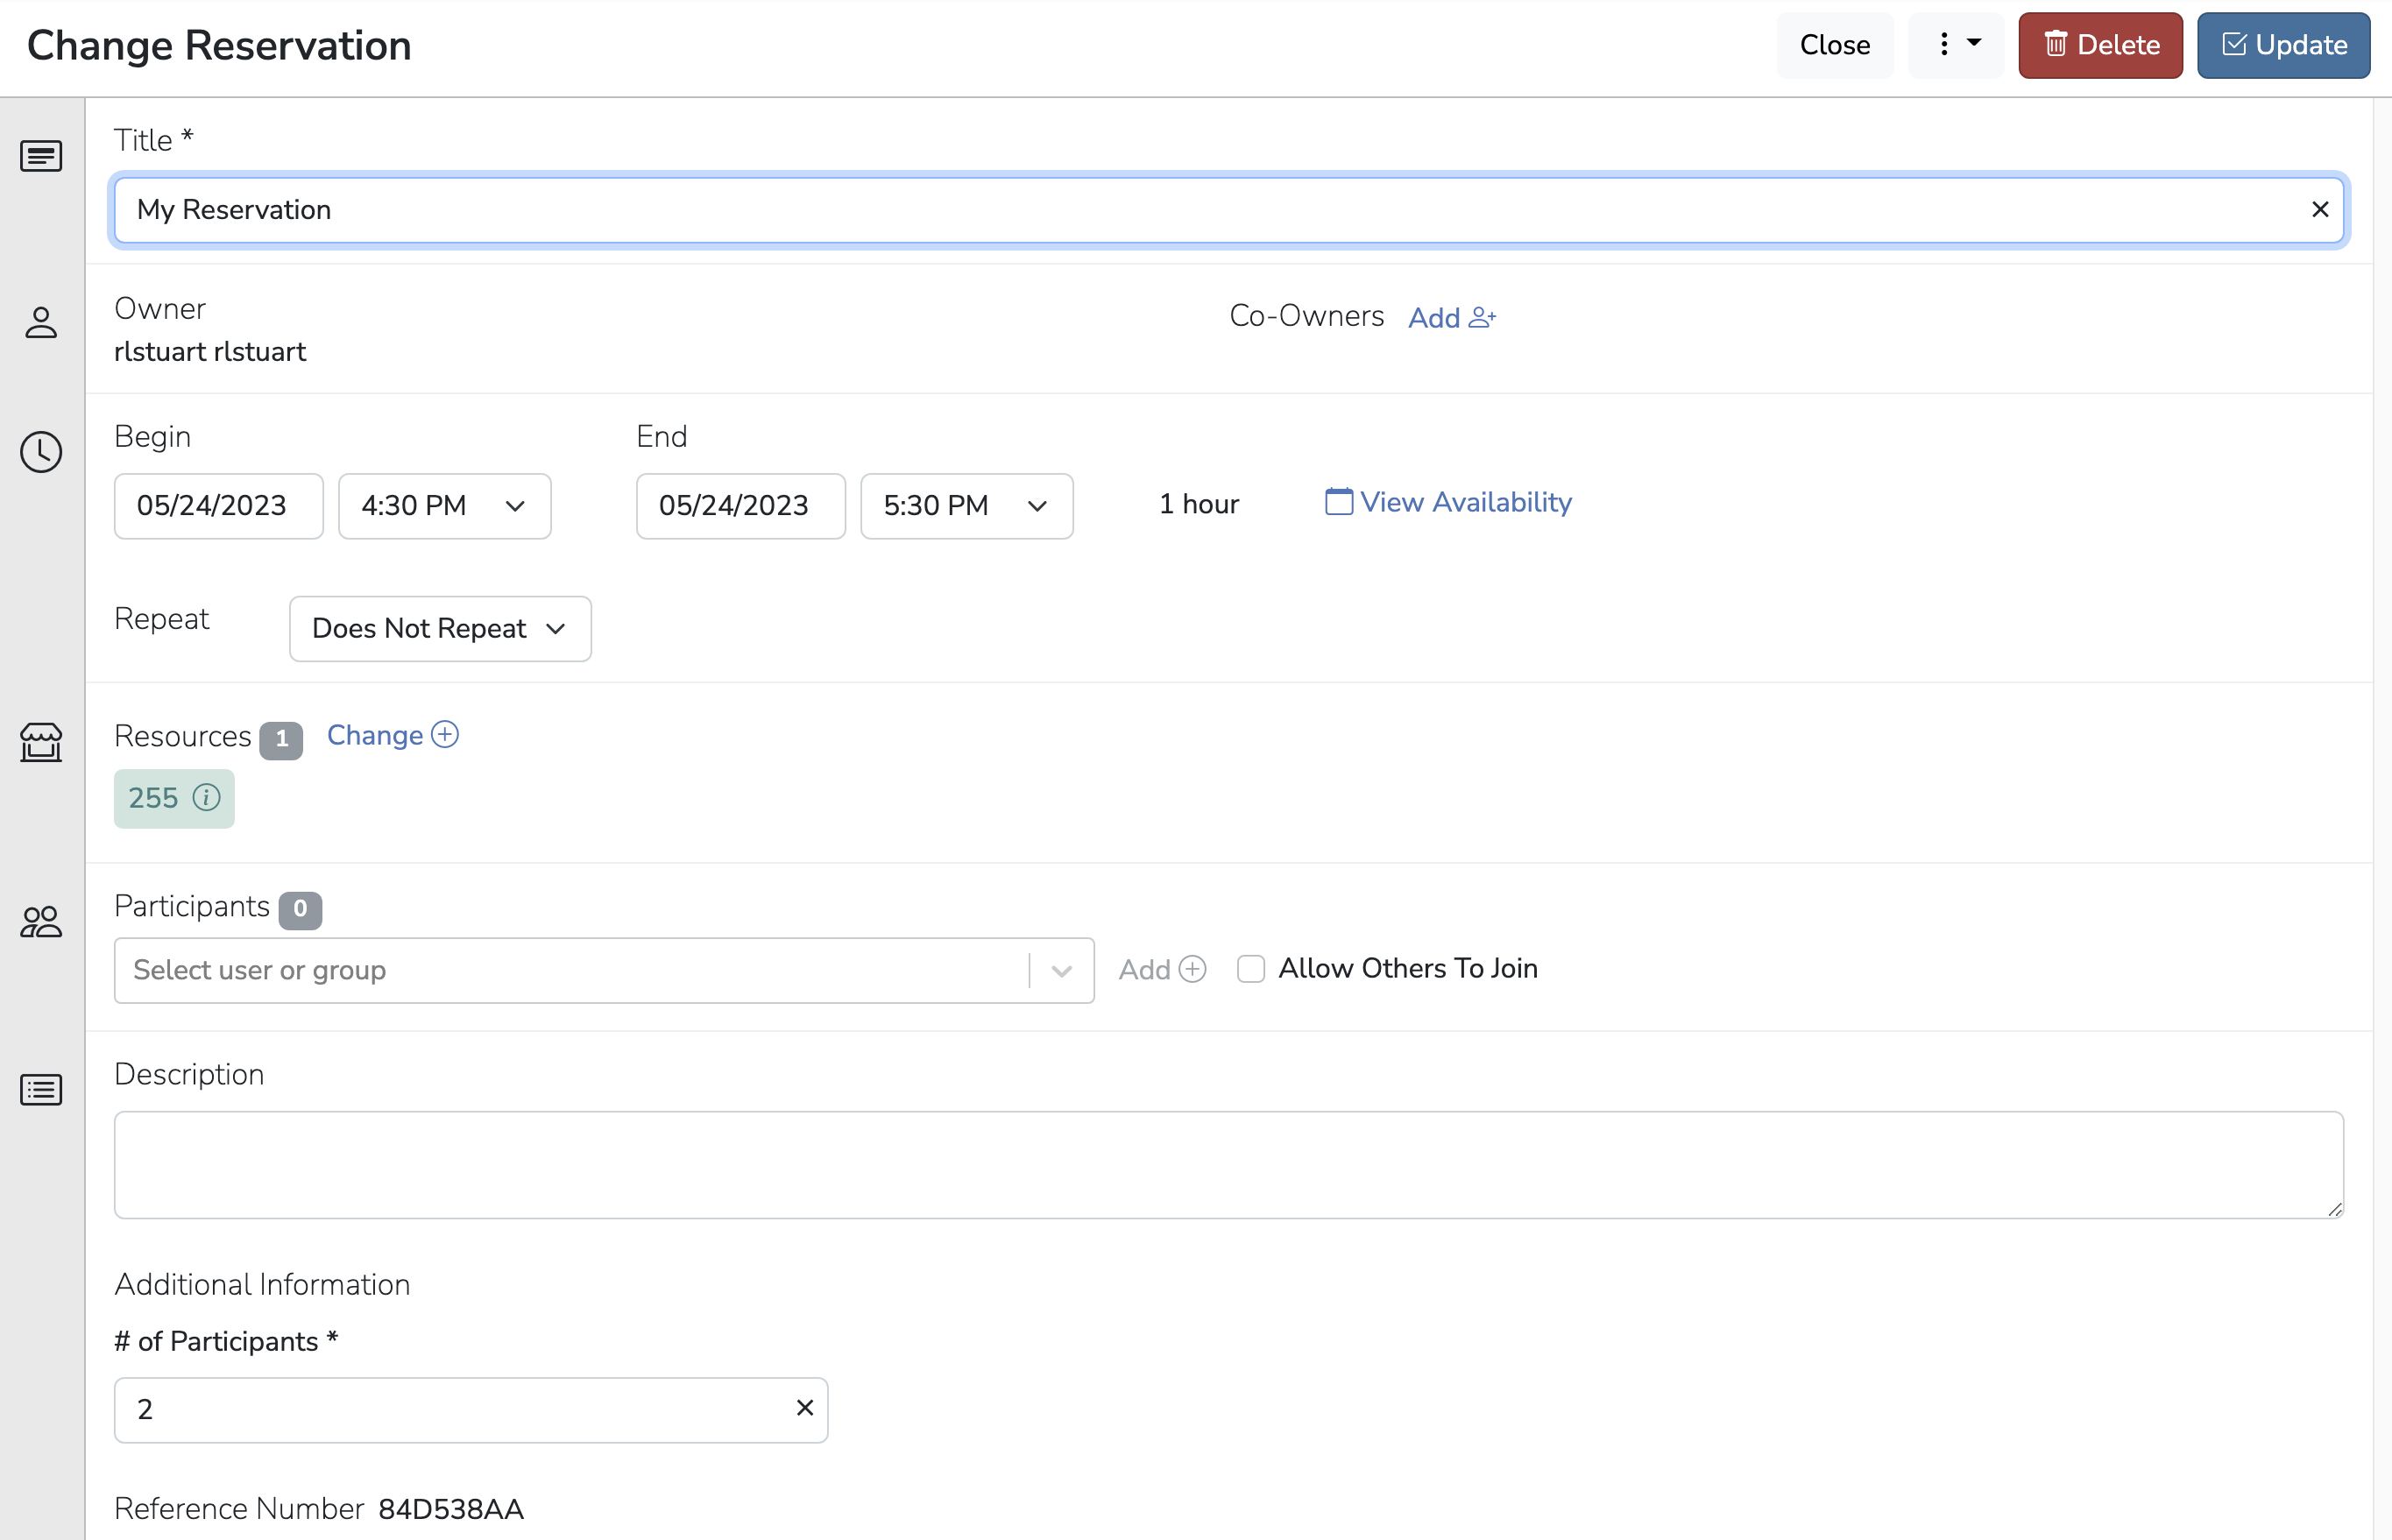
- When you're done making changes, click the Update button. If you have Notifications turned on, you'll receive an email with your udpated reservation's details.

- From Schedule | Bookings, find your reservation.
- Double-click your reservation to bring up the Change Reservation screen. This screen will automatically fill with your current reservation details.

- To delete the reservation, click on Delete in the upper right of the screen. If you have Notifications turned on, you'll receive an email letting you know that your reservation has been deleted. Thanks for doing so!
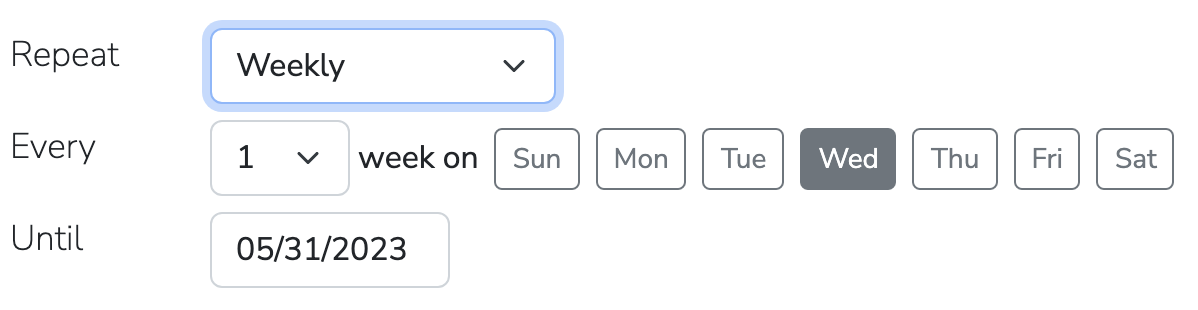
- After you click on your date/time associated with the room you want to reserve, you will see the "New reservation" screen.
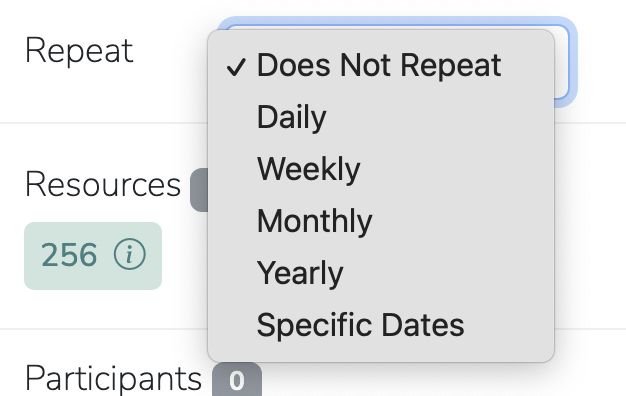
- After selecting day of week, or every # of days/months, select an end date with the "Until" option.
- Don't forget to fill in the Title of your reservation and # of Participants fields!
- After you click the "Create" button, if you have Notifications turned on, you'll get an email that lists all the dates reserved.
- To add a Participant: from the Create/Edit a Reservation screen, type the user's name or email address in the Add box. Select their name from the list. Names will appear in the box below. Names can be removed by clicking the red X next to the name.
- Click on the Create (or Update) button upper right.

How to Set up Notifications
You can get email notifications from Libmeeting when:
- you create, update, or delete a reservation
- a participant cancels a meeting you've scheduled
- your recurring reservation series is ending.
To set up your notifications:
- In the upper right of the main navigation bar, click on your username | Notification Preferences.
- On the Notification Preferences screen, for each option use the toggle button (right means yes).